Configure Windows Mail App for POP3 / IMAP
Configure Windows Mail App for POP3 / IMAP
Windows 8 / 10 / 11 comes with an app for managing e-mails: Windows Mail. With the Mail App you can easily manage your e-mails locally on your computer.
New account? Before connecting your email client for the first time, you need to enable external access once in your eclipso Mail Europe account. Log in → Settings → POP3/IMAP/SMTP → [ Enable access for email clients ].
Tip: Disable email client access if you use eclipso exclusively via the webmail interface or our app. This additional step protects your account against unauthorized access.
Tip: Disable email client access if you use eclipso exclusively via the webmail interface or our app. This additional step protects your account against unauthorized access.
How to set up mail access in Windows 10:
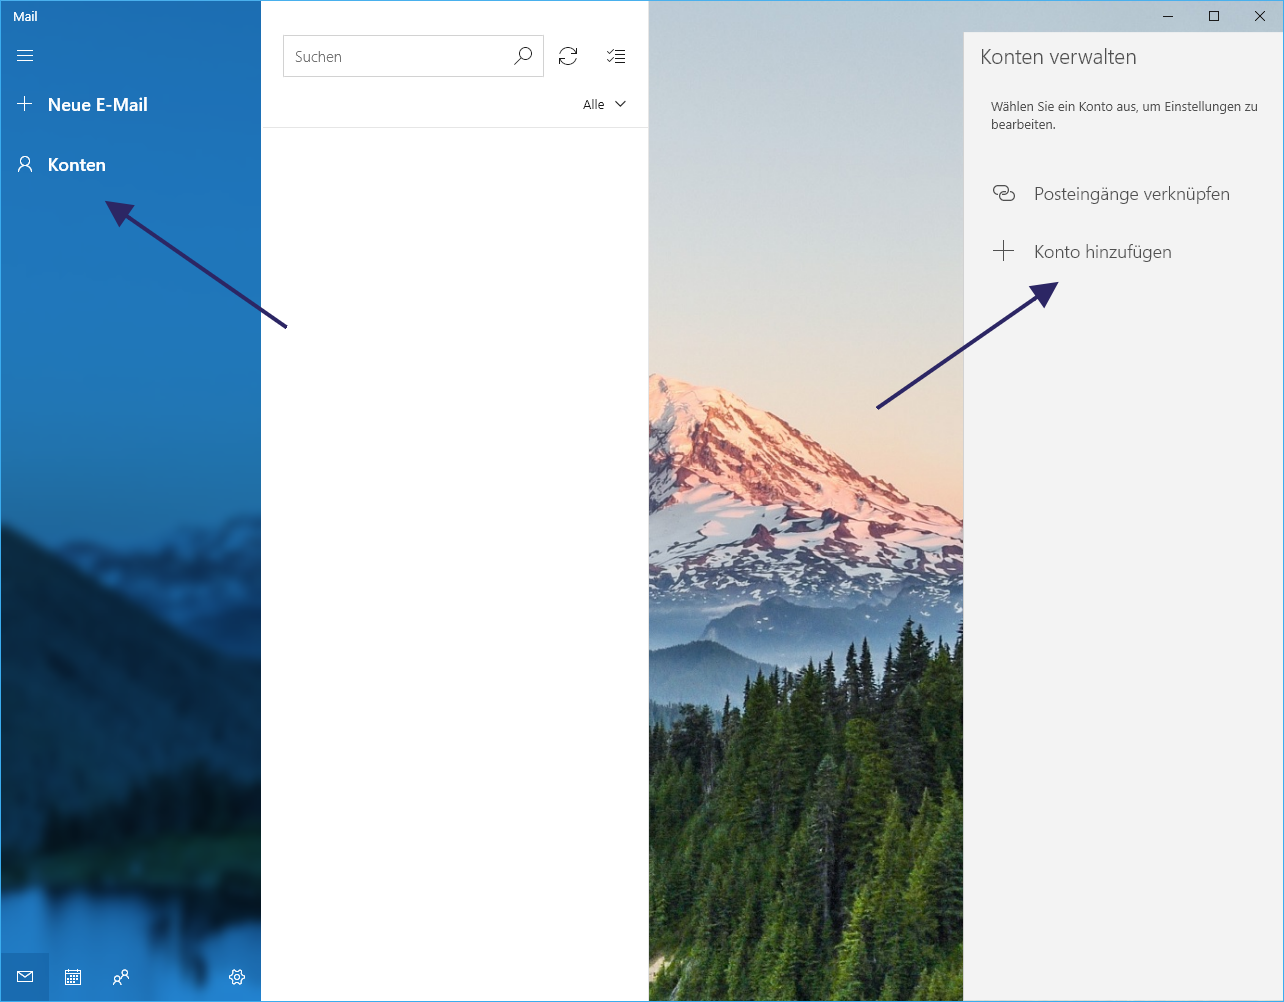
1. Start the Mail App in Windows 10. Click on Accounts and then on Add account:
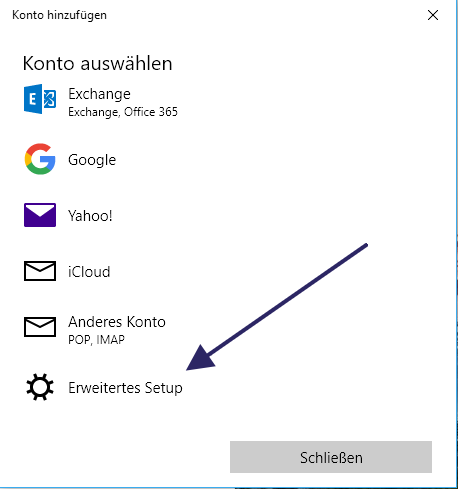
2. Click "Advanced Setup"
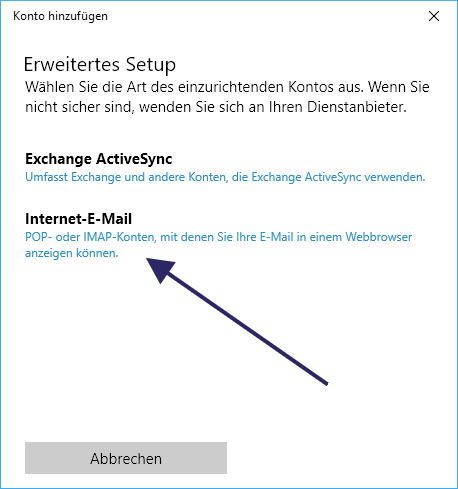
3. Click on "Internet E-Mail".
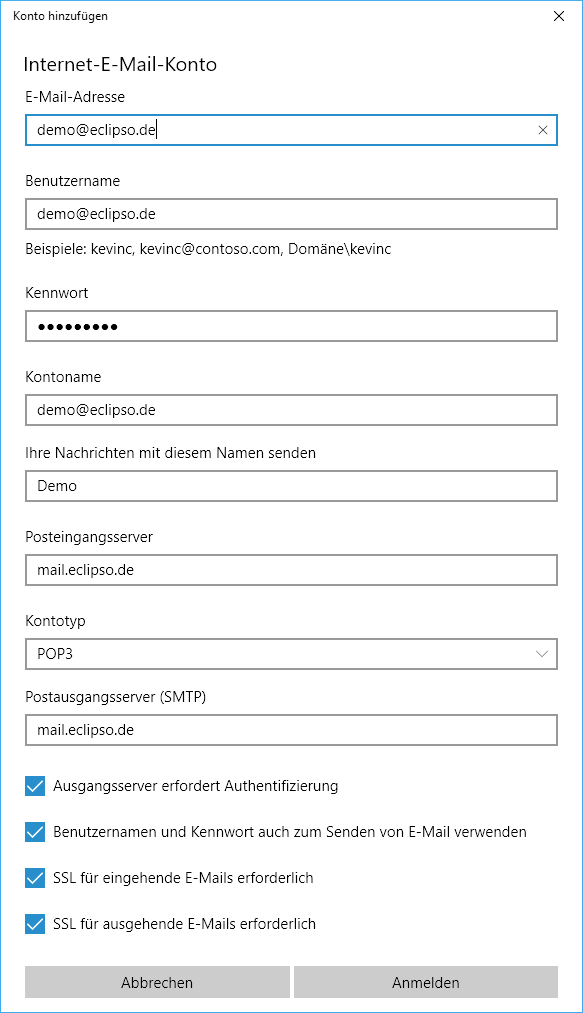
4. Now fill in all fields according to the following example. Replace the account data with your personal access data and select the appropriate account type (POP3):
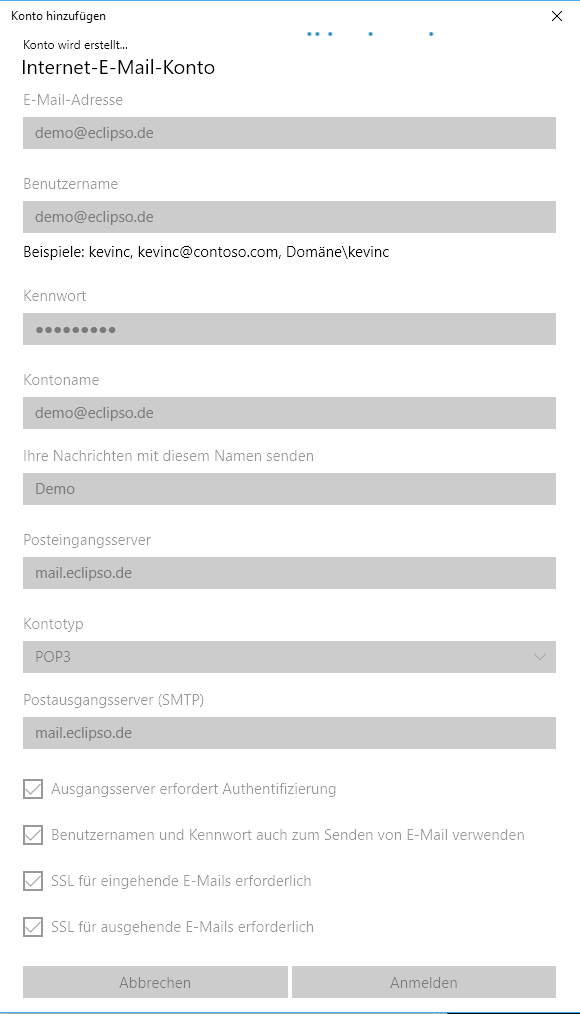
5. Now click on "Login". The settings will then be checked:
6. If the account was successfully set up, the following message will appear:
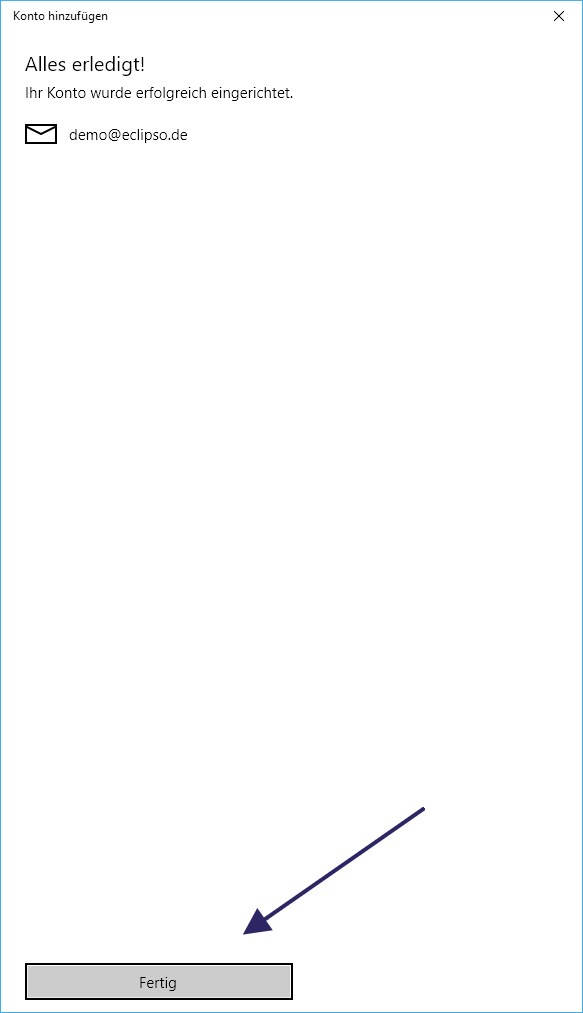
7. Finally, click Ready to complete the setup.
The Windows Mail app is now configured to send and receive mail messages.
| Summary | |
 | Your name: Your first and last name |
| E-Mail-address: ihrname@eclipso.de |
| account type: POP3 |
| Inbox server (POP3): mailo.eclipso.en - Port 110 |
| IMAP: mail.eclipso.de - Port 143 |
| Outgoing Mail Server (SMTP): mail.eclipso.de - Port 587 |
| username: ihrname@eclipso.de |
| Password: Your chosen password |