Setup POP3 with Android
Setup POP3 with Android
Depending on the Android distribution used, the procedure for setting up your eclipso account on your Android Smartphone varies. You can use the example of the Android version we use as a guide when setting up POP3 and SMTP. POP3 is suitable for anyone who wants to download unsorted e-mails from our servers and sort them themselves.
If you want to pre-sort incoming e-mails in your eclipso mailbox, we recommend that you change the account type so that you can use IMAP. With IMAP you synchronize your e-mails to all devices and thus have the same status everywhere.
1. Call the Settings menu
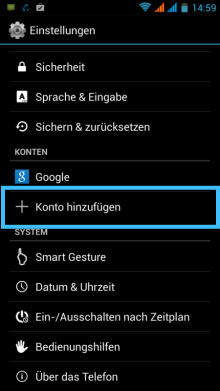
Then select E-Mail:
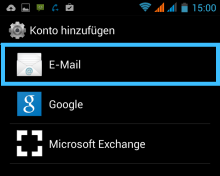
2. Account setup
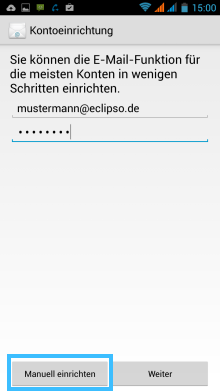
Enter your email address (ihrname@eclipso.de) and password, and then tap the Create manually:
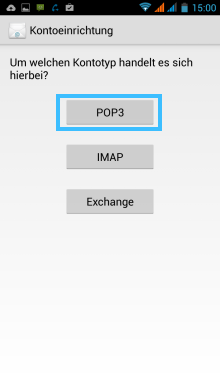
As account type you choose POP3:
Incoming messages
POP3 server: mail.eclipso.de
Port: 110
Security type: STARTTLS
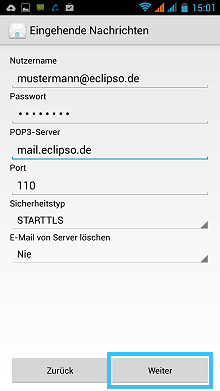
>If you also process e-mails with other programs, the setting: Delete e-mail from server should be set to Never.
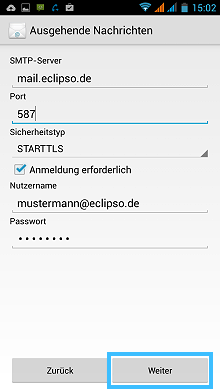
Outgoing messages
SMTP server: mail.eclipso.de
Port: 587
Security type: STARTTLS
Login required: Yes (checkbox selected):
3. Account settings
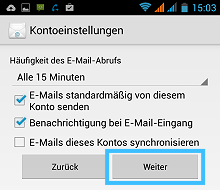
Finally you have the possibility to make various settings. Make your choice here and click on Next:
4. Close account setup
> Last enter your name and close the account setup with Next:
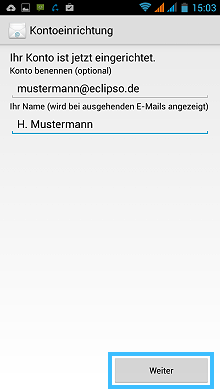
The account is now set up, reception and sending via the standard e-mail app is possible.

